A paved area, when done correctly is a long-lasting and hard-wearing solution for flooring, especially outdoors. It can withstand the elements and hold up under far more weight than concrete.
Permeable pavers drain water, so your patio won’t flood in the wet seasons and they don’t attract as much dust too. Plus, it’s more aesthetically pleasing than plain concrete.
However, there are a few things to consider before installing pavers, because if they are not done correctly, you lose out on the benefits of a paved patio.
Follow These Steps To Prep And Install Permeable Pavers For Your Patio
Step 1: Prepare the Ground
It seems fairly obvious, but you don’t want to miss out on this step. First things first, you have to scope out the area. Make sure you and your builders have the area for the permeable paver patio demarcated and planned out before doing anything.

Once you’ve marked off the area, it’s important to square the corners and make sure the lines are straight (there’s nothing worse than having an oddly shaped paved patio)
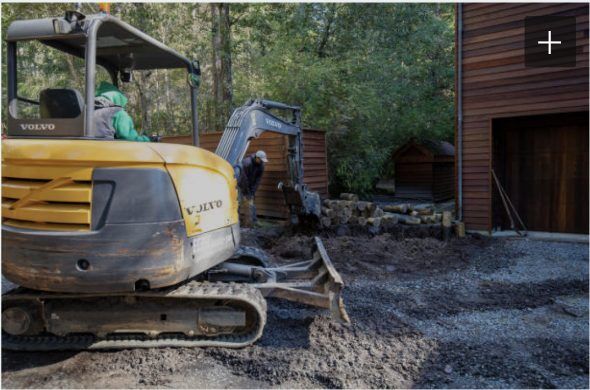
Next, the patio builders will clear all roots and rubble from the sand sub-base. They will dampen and slightly level the ground before going in with the big guns – a compactor that is. If the area is going to be a high-traffic area, it’s best to go in with a mechanical compactor. If not, the ground can be leveled manually.
Pro Tip: the sub-base should be at least 2 inches thick for the best results.
Step 2: Prepare the Sand
Your ground has been compacted, now it’s time to finish off the sand. It’s essential to level the sand properly at this stage.
The best way to do this is to lay two boards, either timber or metal (must be flat and square). Then, your builders should run a screed board with a spirit level across the sand to make sure everything is absolutely level.
Step 3: Laying the Pavers
Finally, it’s time to lay the pavers! It’s a good idea to start at a fixed edge and work outwards from there. It’s better to start this way as it’s much easier to control the pattern.

Here, you can be a bit creative and choose to lay a pattern – it doesn’t have to be plain and simple. If you’re at a loss for ideas, feel free to contact us at Buddha Builders for ideas and advice on different paver patterns and styles.
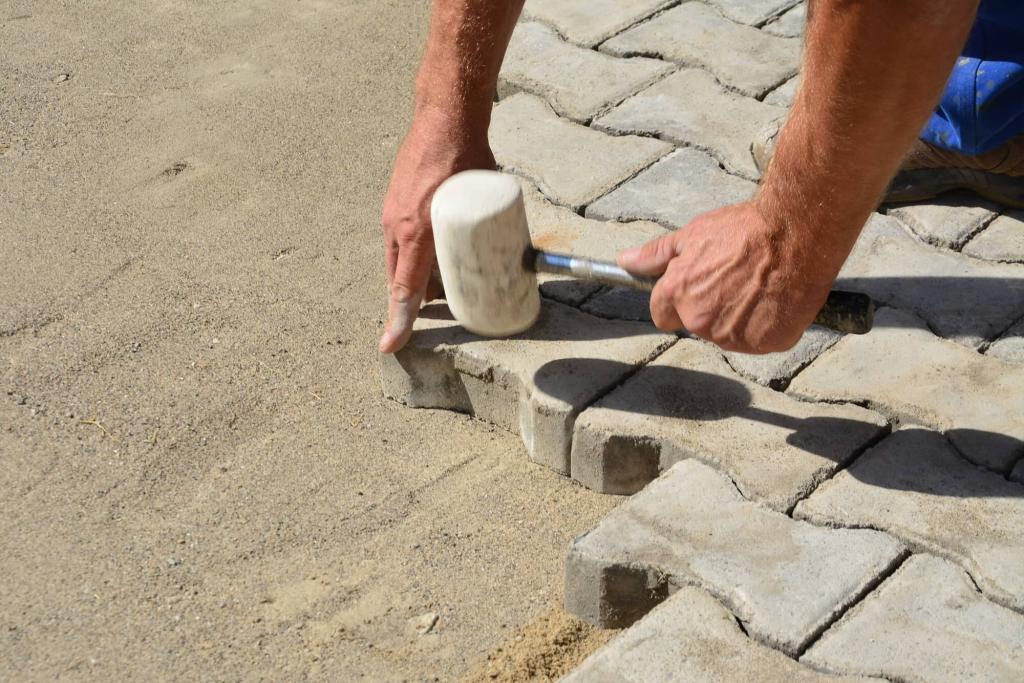
When laying down each paver, an important step is to give them a light tap with a wooden mallet to set them in properly. There should also be equal gaps of about 2mm between each paver, which will be filled with sand later on.
Another pro tip: don’t walk on screed sand, rather walk on the already paved area.
Step 4: Compacting and Joining
Once all the pavers are laid out, it’s time to compact and join it all. Having a low amplitude plate compactor to do this is incredibly useful, especially if it’s one that covers a large area. It saves time and gets the job done!

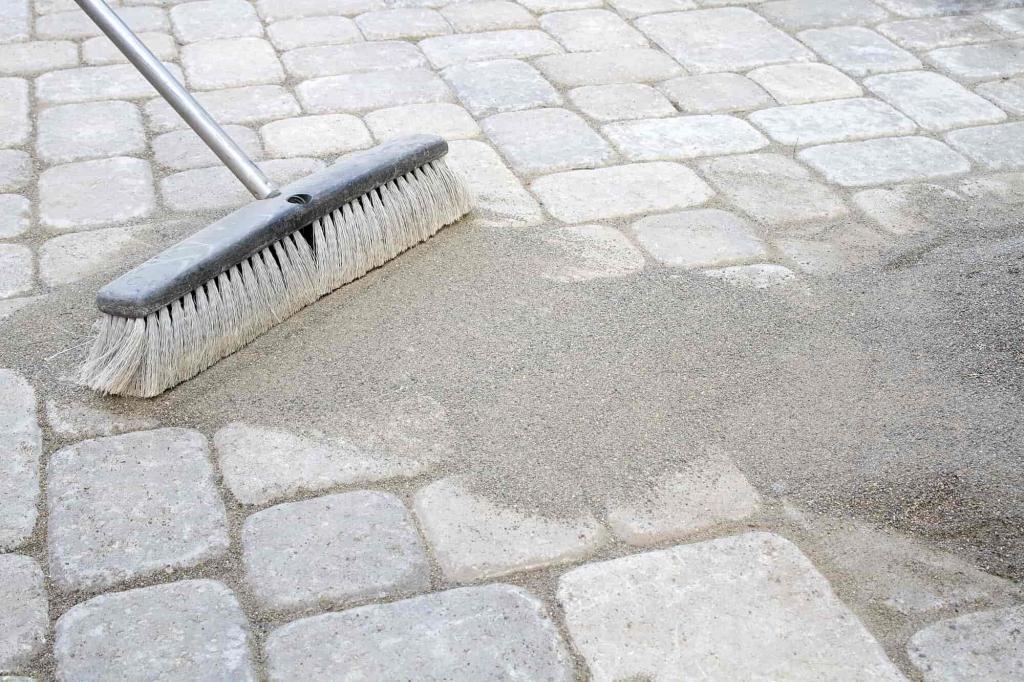
Before compacting, the builders will add a thin layer of jointing sand to the area and spread it out. This will go between each paver and act like the glue that holds everything together.
The builders will then cover the base of the compactor plate with a thick rubber carpet or a thin sheet of plywood, to protect the pavers. Then, they will go ahead with compacting the area.
The next step is to add white-washed or darker sand into all the joints. This is more for aesthetics – it gives the paving a great finish. If you’ve gone with light-colored pavers, darker sand will go well with it and vice versa.

Once they’ve covered the entire area,it’s time to clear away the excess sand. Your patio is now paved and joined!
Step 5: Restrain Edges
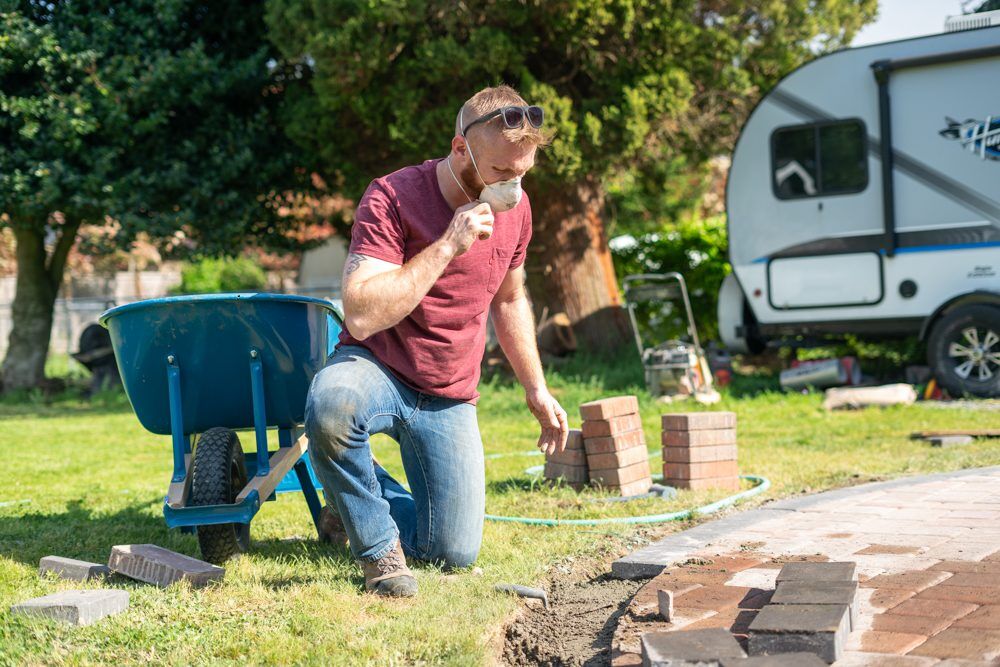
Last but not least, the builders will finish the edging around the paved patio. If your patio is not right up against any walls or perhaps there’s a section that ends in the middle of your backyard, it’ll need restraining. This prevents the pavers from spreading out due to load.
The best way to do this is with concrete as it’s strong enough to hold in the sub-base and the pavers.
Final Thoughts
Paving can be an elegant and functional flooring solution for so many different areas of your property. From your driveway and garage down to your backyard and patio, permeable paving is such a great solution that’s versatile and extremely hard-wearing. While you can install your permeable paver patio DIY-style, there are several steps that might be better left up to a professional builder. So, if you’re looking to install a beautiful permeable paver patio be sure to contact Buddha Builders today. We can help you design.